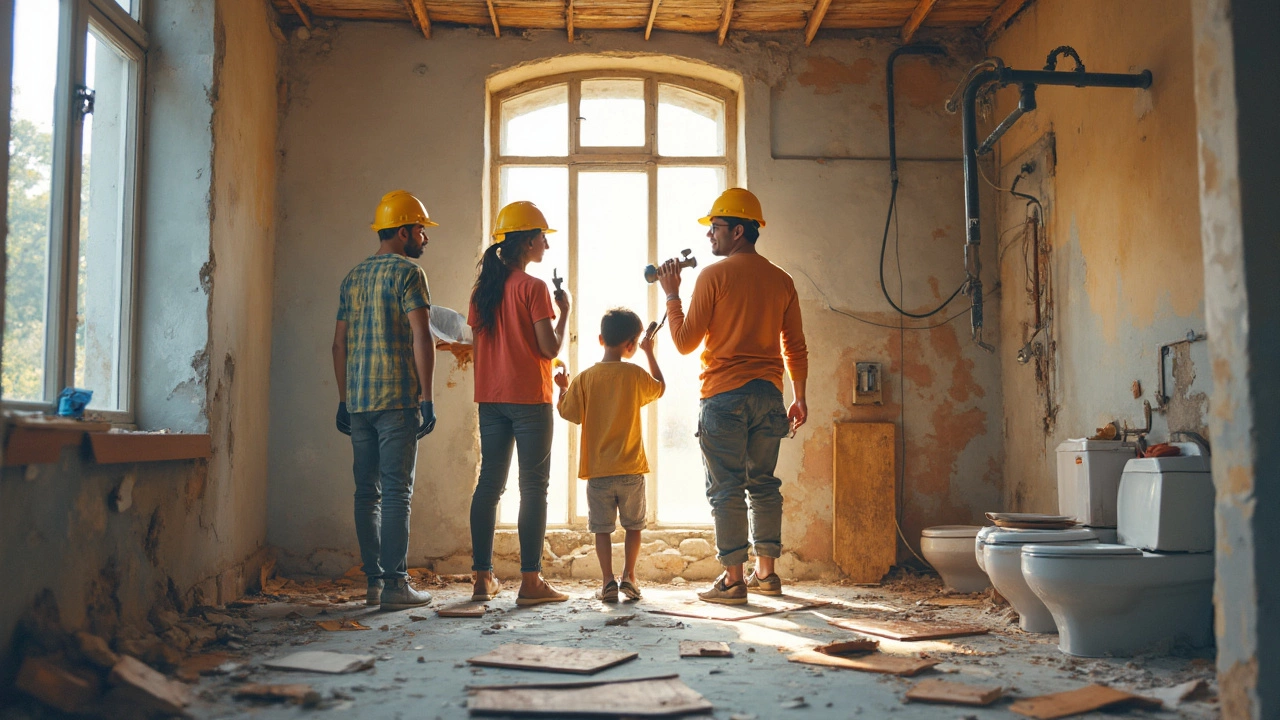
You might think that picking tile or tubs is what makes a bathroom remodel tough. Actually, most folks hit a wall way earlier—right when the real work begins. Ripping out old fixtures and laying out the new plan shouldn't be a minefield, but it quickly turns into one. Why? Because bathrooms are tiny spaces crammed with pipes, wires, and more problems than you'd guess.
Ever seen a leaky pipe hiding behind tile? Or mold growing behind a vanity you swore was fine? That's the everyday reality for anyone starting a bathroom reno. These surprises don't just slow you down, but they can blow your budget in no time. The hardest part isn't just swinging a hammer—it's figuring out what you’re up against before you even start. If you don't map out every detail, you’re in for a world of stress and costs nobody plans for.
- Why Planning Trips Everyone Up
- Demolition: Expect the Unexpected
- The Hidden Challenges with Plumbing and Wiring
- Tips for a Smoother Bathroom Reno
Why Planning Trips Everyone Up
Most people think the big headache in a bathroom renovation is the mess or cost. But the real pain point? Planning. The tiniest mistake in your plan can haunt you for years—like putting a towel bar where your elbow hits it every morning, or forgetting an outlet right where you need to plug in your hair dryer.
Bathrooms aren’t just four walls and a shower. They pack a crazy amount of stuff in a tight space: plumbing, electrical, ventilation, and all your must-have fixtures. Mess up the plan even a bit, and you run into trouble fast. British home improvement experts say about 70% of renovation regrets come down to poor planning—not the work itself. You don’t notice until your drawers won’t open because they smack right into your new toilet.
If you want a smoother ride, you need a detailed layout—right down to where pipes, outlets, and lighting go. A study by Houzz in 2023 showed that people who mapped out every inch of their project and nailed down their budget early were 45% less likely to overspend or run into timeline issues:
| Did detailed planning? | Project ran over time/budget |
|---|---|
| Yes | 27% |
| No | 72% |
The biggest trip-ups happen when you skip steps like:
- Forgetting to measure clearances—doors, drawers, and cabinet swings all overlap in a tight bathroom.
- Missing hidden features behind walls (pipes, junction boxes, random venting).
- Ignoring building codes—these exist for a reason, especially with electrical and water lines.
- Going overboard on fancy fixtures that don’t fit your layout or your budget.
No matter how excited you are to pick out tile and faucets, slow down and get the blueprint right. That way, you dodge the biggest mistakes and keep your bathroom renovation on track for the long haul.
The hardest part of bathroom renovation isn’t buying pretty stuff—it’s playing real-life Tetris behind the scenes, making sure it all fits and works.
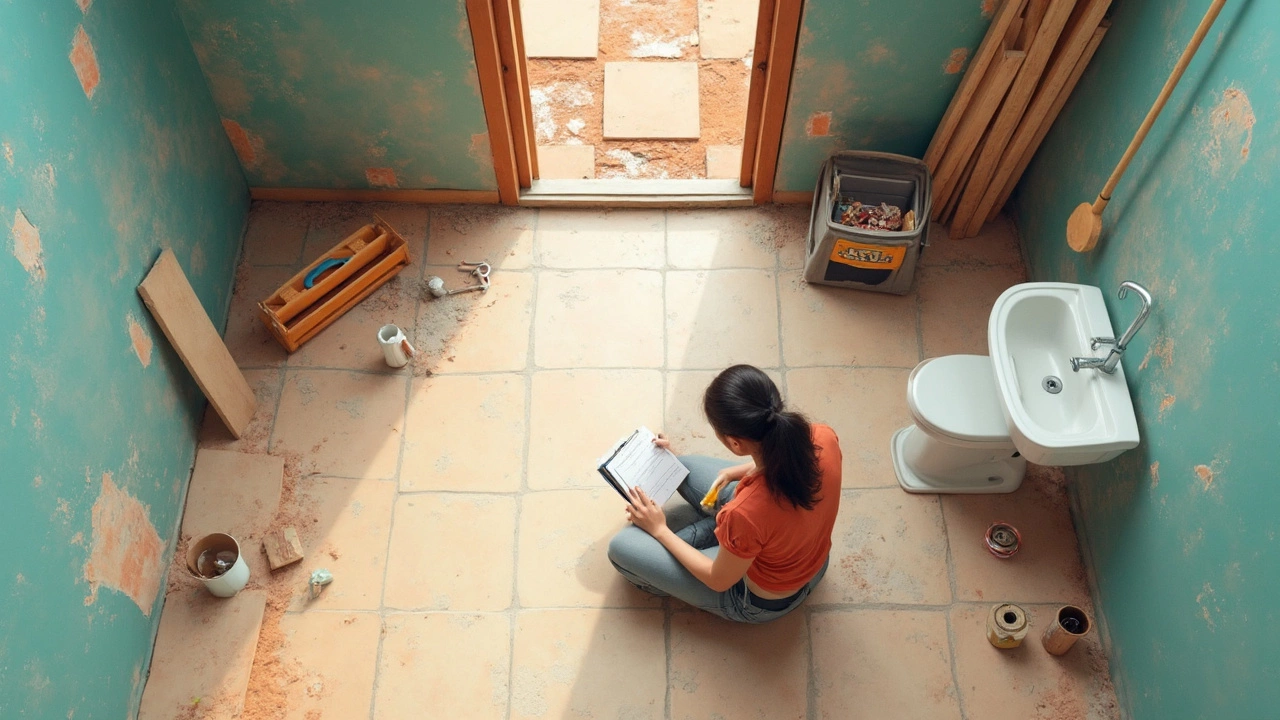
Demolition: Expect the Unexpected
Demolishing a bathroom isn’t just about swinging a sledgehammer and hoping for the best. The moment you start tearing things out, you’ll run into surprises—sometimes expensive ones. For example, studies show that up to 65% of older bathrooms have hidden water damage under tubs or behind walls. That’s a huge chunk, and it explains why jobs often cost more than planned.
Busting out old tile feels satisfying, but watch out for asbestos in homes built before the 1990s. A lot of bathroom tiles and glue had asbestos back then, which means you can’t just toss debris in the trash. You’ll need professional removal, and that adds days and dollars.
There’s also the headache of plumbing and electrical lines. You’ll usually spot pipes right behind the first row of drywall—sometimes crooked, and sometimes patched together with three different materials. DIYers often cut into wires or pipes by accident when they demo, which leads to leaks or, worse, electrical shorts. That’s why it pays to carefully shut off water and power before you hit anything with a crowbar.
- Wear safety gear: gloves, goggles, and a mask—especially when dealing with dust or possible mold.
- Haul away debris as you go. Old cabinetry, tile, and sinks pile up fast and take up precious space.
- Keep an eye out for damp wood and black spots—these signal mold, and you’ll want to handle that with the right products or by calling a pro.
| Issue | Percent of Renovations |
|---|---|
| Hidden Water Damage | 65% |
| Outdated Plumbing | 53% |
| Mold or Mildew | 42% |
| Electrical Issues | 29% |
| Asbestos Materials | 15% |
The key with bathroom renovation demolition? Don’t rush. Examine every layer as you peel it back, and take notes. If you find something weird—old wiring, funky smells, or plain rot—take a quick photo and ask for advice before moving on. That saves headaches, and probably money, down the line.
The Hidden Challenges with Plumbing and Wiring
Think you're ready to move pipes and wires? Hold up—most folks underestimate just how tricky this gets. Bathrooms work because their systems are packed tight and there’s zero room for mistakes. Get a drain at the wrong slope or put an outlet too close to water, and suddenly your "easy update" turns into a full-blown setback.
Bathroom renovation usually hits a snag right here. First, you need to check what’s already behind your walls and floors. Old houses especially might surprise you: thin copper pipes, corroded cast iron drains, even cloth-covered wiring (yikes). Changing anything means following local code—and trust me, the inspector always finds what you miss.
Let’s get specific. Here are the common headaches:
- Pipe Routing: Pipes must slope just right. Too flat and you’re calling a plumber for clogs every few weeks. Mess with vent stacks, and you could face slow drains or sewer smells.
- Waterproofing: That spaghetti of pipes behind the shower wall? One tiny crack soaks everything. On average, water leaks cost U.S. homeowners about $2,600 per claim, according to the Insurance Information Institute.
- Electrical GFCI: By law, outlets around water must have GFCI protection. Swapping old outlets for these is simple, unless your wiring is ancient or overloaded.
- Hidden Crossings: Plumbing often blocks the best spots to run electrical wires, and vice versa. You have to thread them perfectly to avoid future issues.
Check this out—here’s a quick look at what usually needs work, and how much it could run you on average:
| Task | Average Cost (USD) | Potential Delay |
|---|---|---|
| Moving pipes/drains | $700-$2,000 | 1-2 days |
| Upgrading wiring | $500-$1,200 | 1-3 days |
| Fixing old leaks/faults | $250-$1,500 | Half-day to two days |
Before opening a wall, label every fixture that stays and every one that goes. Take photos. Turn off the main water and kill electricity to the room—no shortcuts. If you’re seeing a rat’s nest of pipes or odd wiring, call a pro. Don’t gamble with jobs that can mess up your home’s safety or insurance down the line.
Tips for a Smoother Bathroom Reno
Tackling a bathroom renovation can feel like walking into a maze, but you don’t have to get lost. Most headaches come from not spotting problems before you hit them. Here’s how to dodge the big ones and keep your project on track.
- Plan like a pro: Before you swing that hammer, draw up a detailed plan. List everything—measurements, fixture locations, even where your towel bar goes. Small spaces need tight planning to avoid last-minute changes that cost you time and cash.
- Budget for surprises: The data doesn’t lie: according to HomeAdvisor, 40% of bathroom renos go over budget, usually because something unexpected pops up behind the walls. Add an extra 15–20% to your budget just for "surprises." It’s less stressful to have a safety buffer than scramble when things go sideways.
- Find the right help: Not every job is a DIY project—especially when you’re messing with plumbing or electrical. Licensed pros cost money, but fixing mistakes costs way more.
- Stay clean and safe: Dust and debris go everywhere. Seal off vents and doorways with plastic, and use a shop vac daily. Mold and old materials can be health hazards, so suit up with a mask and gloves when ripping stuff out.
If you want a clearer picture of where your time and money might go, check the table below. It breaks down what usually takes the most effort and cash in a typical bathroom reno:
| Task | Average % of Total Cost | Toughness Level (1-5) |
|---|---|---|
| Plumbing Updates | 25% | 5 |
| Tile Work | 20% | 4 |
| Electrical | 10% | 3 |
| Demolition | 5% | 3 |
| Fixtures & Fittings | 20% | 2 |
| Painting/Finishing | 5% | 1 |
| Other/Misc | 15% | 2 |
A bathroom remodel doesn’t have to wreck your nerves or your wallet. Stay organized, expect the unexpected, and don’t be afraid to hire out the tricky stuff. Your future self (and your pipes) will thank you.
Written by Fletcher Abernathy
View all posts by: Fletcher Abernathy