Cheap Bathroom Renovation Budget Calculator
Project Details
Budget Breakdown
Quick Savings Tips
- Paint walls instead of replacing fixtures to save $300-$500
- Install vinyl flooring yourself for $2-$3 per sq ft instead of $5-$7
- Replace old fixtures with affordable alternatives to reduce labor costs
- Buy materials during sales or use leftover supplies from previous projects
Key Takeaways
- Set a clear budget and stick to it by prioritizing high‑impact, low‑cost changes.
- Choose affordable materials like vinyl flooring and acrylic shower kits that look great without breaking the bank.
- Do most of the work yourself - paint, install fixtures, and add storage - to save labor costs.
- Use a simple timeline: plan, demolition, rough‑in, finish, and final touches.
- Watch out for hidden expenses such as permits, unexpected repairs, and mismatched fixtures.
When you’re staring at a dated bathroom and wondering how to give it a fresh look without draining your savings, a cheap bathroom renovation is absolutely doable. Below is a practical, step‑by‑step guide that walks you through planning, picking the right materials, and doing the work yourself. By the end you’ll have a bathroom that feels brand‑new, and you’ll have saved a good chunk of money.
1. Set a Realistic Budget and Stick to It
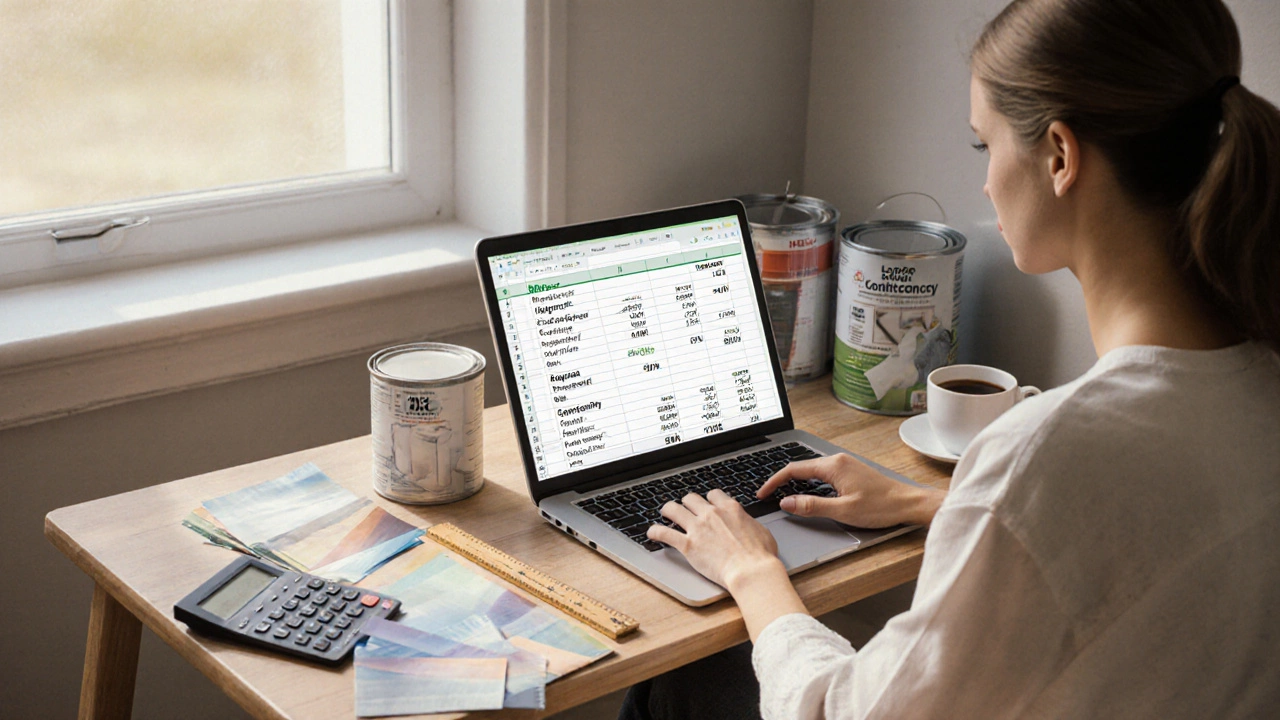
Before you buy any tile or swing a hammer, decide how much you can spend. A solid rule of thumb is to allocate 40% of the budget to materials, 30% to labor (if you hire help), and 30% to unexpected costs. Write the numbers down in a spreadsheet so you can see where every dollar goes.
Example: If you cap your project at $4,000, aim for $1,600 on materials, $1,200 on labor, and keep $1,200 as a contingency fund. Having this cushion prevents nasty surprises when you uncover old plumbing issues.
2. Pick Cost‑Effective Materials That Still Look Good
Materials are where you can shave off the most money without sacrificing style. Here are three budget‑friendly winners:
- Vinyl flooring A water‑resistant sheet that mimics wood or stone at a fraction of the price. It installs with a click‑lock system, meaning you can lay it yourself in a weekend.
- Acrylic shower kit Prefabricated panels and a ready‑made base that replace tile work. Prices start around $250 and include everything you need for a quick swap.
- Paint A fresh coat of moisture‑resistant bathroom paint can brighten walls instantly. Choose a semi‑gloss finish for easy cleaning.
These choices cut labor time dramatically, which translates to lower labor fees.
3. Decide What You’ll Do Yourself vs. When to Hire a Pro
DIY is the biggest money saver, but some tasks are better left to skilled hands. Use this quick decision matrix:
| Task | DIY Difficulty (1‑5) | When to hire |
|---|---|---|
| Painting | 2 | Never - easy and cheap |
| Installing vinyl flooring | 3 | Only if you’re uncomfortable with cutting |
| Replacing the faucet | 2 | Never - basic tools needed |
| Hooking up new plumbing | 5 | Always - risk of leaks, code violations |
| Tile work | 4 | Consider pro if you want perfect lines |
By tackling the low‑difficulty items yourself, you can easily shave $800‑$1,200 off a typical bathroom remodel.

4. Refresh Walls and Ceilings with Paint
Paint is the cheapest facelift you can give any room. Pick a moisture‑resistant bathroom paint; these formulas contain mildewcide. A gallon covers roughly 350sqft, so for an average bathroom you’ll need about 1‑2 gallons. Expect to spend $30‑$45 per gallon.
Preparation steps:
- Remove outlet covers and tape off trim.
- Patch any cracks with a quick‑dry spackling compound.
- Apply a primer if you’re covering dark colors or staining.
- Roll on a semi‑gloss finish, two coats.
Pro tip: Paint the ceiling first, then the walls. This avoids splatter marks on fresh wall paint.
5. Install Vinyl Flooring Like a Pro (Even If You’re a Beginner)
Vinyl flooring comes in click‑lock or peel‑and‑stick varieties. Click‑lock offers a floating floor that can be removed later, while peel‑and‑stick is glued down for a permanent feel.
Tools you’ll need:
- Utility knife
- Measuring tape
- Rubber mallet
- Spacers for expansion gaps
Installation steps:
- Measure the room and order 10% extra material for cuts and waste. \n
- Clean the subfloor thoroughly; any dust will show through vinyl.
- Lay the first row with the tongue side against the wall, leaving a ¼‑inch gap.
- Snap subsequent rows into place, using the mallet to ensure a tight fit.
- Trim excess at the walls with a utility knife.
Cost estimate: $2‑$3 per sqft for quality vinyl. For a 50sqft bathroom, that’s $100‑$150.
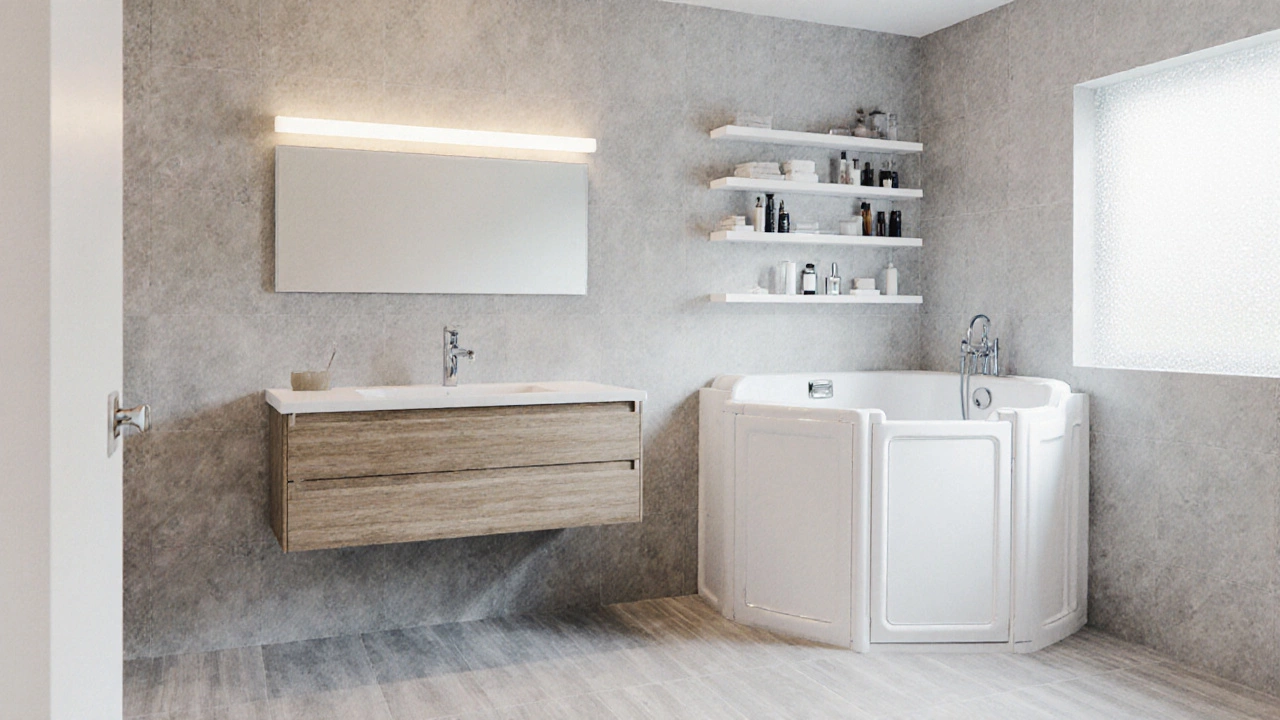
6. Upgrade the Shower or Tub Without Tile
If you’re unhappy with an aging bathtub, consider swapping it for an acrylic shower kit A pre‑fabricated, all‑in‑one shower assembly that includes walls, base, and door. These kits are designed for DIY, coming with all necessary brackets and a silicone sealant.
Installation basics:
- Turn off water and disconnect the old tub.
- Level the floor and install the new base according to the kit’s instructions.
- Attach wall panels, ensuring each seam is sealed with silicone.
- Hook the new faucet and showerhead; test for leaks.
Average price: $300‑$500, depending on size and finish. Compare that to a tiled shower, which can exceed $1,500 in labor alone.
7. Light Up the Space with Smart, Cheap Lighting
Good lighting makes a modest bathroom feel luxurious. Replace a dated fixture with an LED vanity light Energy‑efficient strip or bar lights that fit above the mirror. They consume under 10watts and last 25‑30years.
Installation trick:
- Turn off the breaker.
- Remove the old fixture, noting wire colors.
- Connect the LED’s black (hot) to the black house wire, white (neutral) to white, and green or bare copper to ground.
- Secure the fixture and restore power; adjust brightness if it’s a dimmable model.
Cost: $30‑$70 per fixture.
8. Add Storage Without Breaking the Bank
Clutter makes any bathroom feel cramped. Instead of custom cabinets, install simple wall‑mounted shelves Floating shelves made of MDF or metal that can hold toiletries and towels. Paint them the same color as your walls for a seamless look.
Installation steps:
- Locate studs using a stud finder.
- Mark bracket positions at eye level (typically 60‑inch height).
- Drill pilot holes, insert wall anchors if studs aren’t available.
- Attach brackets, then mount the shelves.
Each shelf costs $15‑$25, and a set of three can be installed for under $100 total.
9. Timeline: A Simple Week‑by‑Week Plan
Keeping the project on schedule helps avoid extra labor costs. Here’s a realistic 3‑week timeline for a DIY‑heavy remodel:
| Week | Key Activities |
|---|---|
| 1 | Finalize budget, purchase materials, protect the house (plastic sheeting, drop cloths) |
| 2 | Demolition (remove old fixtures, tile, flooring), prep walls, paint, install flooring |
| 3 | Install shower kit or tub, replace faucet, add lighting, mount shelves, final clean‑up |
Stick to this plan and you’ll finish in under a month, even with a full‑time job.
10. Common Pitfalls and How to Avoid Them
Even the savviest DIYer can run into surprises. Keep an eye on these traps:
- Skipping permits. Some cities require a permit for plumbing changes. A quick call to your local building department can reveal a $50‑$100 fee that’s far cheaper than a code violation.
- Under‑estimating demolition waste. Rent a small 2‑yard dumpster for $80‑$120 instead of multiple trips to the landfill.
- Buying the cheapest fixtures that don’t last. Spend a little more on a reputable faucet (around $50) to avoid leaks that waste water and money.
- Not measuring twice. A mis‑cut vinyl piece can force you to buy extra rolls. Double‑check all dimensions before cutting.
Addressing these issues early keeps the project smooth and truly cheap.
Cheap vs. Mid‑Range Materials: Quick Comparison
| Category | Cheap Option | Mid‑Range Option | Typical Cost (per sqft) | Life Expectancy |
|---|---|---|---|---|
| Flooring | Vinyl click‑lock | Engineered wood | $2‑$3 vs $5‑$7 | 10‑15years vs 20‑30years |
| Shower Walls | Acrylic kit | Porcelain tile | $8‑$12 vs $15‑$25 | 12‑15years vs 30‑40years |
| Lighting | LED bar | Brushed‑nickel vanity light | $30‑$70 vs $120‑$200 | 25‑30years vs 15‑20years |
Choosing a cheap option for high‑visibility areas (like floor and walls) maximizes savings while still delivering a fresh look.
Next Steps & Troubleshooting
After you’ve completed the remodel, run through this quick checklist:
- Turn on all water fixtures and check for leaks for 24hours.
- Make sure the floor feels solid; any squeak could indicate loose subfloor.
- Test lighting switches and dimmers; replace bulbs if any flicker.
- Inspect silicone seams around the shower for gaps. Re‑apply if needed.
If you encounter a problem:
- Leak? Shut off the main valve and call a plumber - it’s cheaper than water damage.
- Flooring uneven? Add a thin underlayment to level high spots.
- Paint peels? Sand the area and apply a second coat of bathroom‑specific paint.
Remember, a little extra effort now prevents costly repairs later.
Frequently Asked Questions
How much should I expect to spend on a truly cheap bathroom remodel?
A full DIY overhaul can be done for $3,000‑$5,000, depending on size. The biggest savings come from doing demolition, painting, and flooring yourself.
Do I need a permit for swapping a tub with an acrylic shower kit?
Most municipalities require a plumbing permit when you change the fixture layout. The fee is usually $50‑$100 and the application takes a few days.
Can I install vinyl flooring over existing tile?
Yes, if the tile is level and securely attached. Clean the surface, add a thin underlayment, then lay the vinyl. This avoids tearing out old tile and saves labor.
What’s the best cheap lighting option for a small bathroom?
A LED vanity strip with a diffuser gives even light without glare. Look for a model with a CRI (Color Rendering Index) of 90+ for true color.
How can I make a cheap bathroom feel larger?
Use light paint, add a large mirror, keep the floor and walls in the same tone, and choose slim, wall‑mounted fixtures. These visual tricks add depth without cost.
Written by Fletcher Abernathy
View all posts by: Fletcher Abernathy